Keeping your teeth clean is important for a healthy smile. Brushing can remove plaque and food from your teeth’s surface, but it may not always reach within them. Flossing is necessary for that. If you are having trouble with traditional flossing, a water flosser can be a great alternative.
Using a water flosser involves spraying water through a device to clean the teeth and the gumline. It is a convenient and helpful tool for people who have braces, sensitive gums or dental work such as crowns or implants. As my experience, I’ll explain how to use a water flosser properly and why it’s a great addition to your oral hygiene routine.
What is a water flosser?
A water flosser, which is also called an oral irrigator is a handheld device that utilises water pressure to remove food and plaque. It is particularly useful for people who have issues with traditional floss or orthodontic devices.
There are different types of water flossers;
- Cordless models – These are battery-operated and portable.
- Countertop models – These models come with a water tank.
- Shower or faucet models – Attach directly to a water source.
How to use a water flosser?
- Fill the water tank – Use warm water. You can add mouthwash to enhance the freshness, but it is optional.
- Choose the right tip – Water flossers come with various tips.
- Standard tip – Best for general use.
- Orthodontic tip – Designed for people with braces.
- Periodontal tip – Helps clean deep gum pockets.
Attach the tip securely before using it.
- Adjust the pressure – If you are not experiencing water flossing, begin with a low setting to prevent discomfort. Once you get used to it, you can increase the pressure.
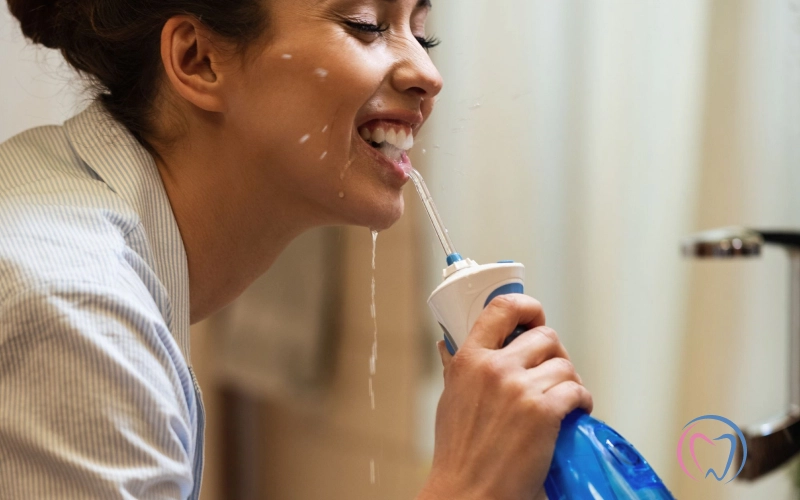
- Place the tip in your mouth – To avoid splashing, stand over the sink. Close your lips slightly and aim the tip at a 90-degree angle to your gums.
- Turn on the device and floss it – After turning on the flosser, move it along the gumline, pausing between teeth. Allow water to remove any food or plaque.
- Follow a flossing pattern – Start with the back teeth and move forward to clean all areas. Make sure to floss both inside and outside of your teeth.
- Spit out the water – When flossing, spit out any excess water into the sink.
- Turn off and clean the device – When you are done, unplug the flosser, rinse the tip and empty the water tank to prevent bacteria from accumulating.
Benefits of using a water flosser
- Traditional floss is no longer a hassle with this solution, which is easier than string floss.
- Ideal for braces and dental work and clears out brackets and wires.
- This product is gentle on gums and is especially suitable for sensitive gums or gum disease.
- Prevents cavities by removing plaque and food particles.
- Reduces the risk of gingivitis and prevents gum disease.
How often should you use a water flosser?
To achieve the best results, make sure to use a water flosser once a day, particularly before or after brushing. If you have braces or gum disease, your dentist may recommend using it more often.
A water flosser is a great tool for keeping your teeth and gums healthy. It makes flossing easier, removes plaque effectively and helps prevent gum disease. Also, it is important to add it to your daily routine, along with brushing and dental check-ups, to keep a bright and healthy smile!

